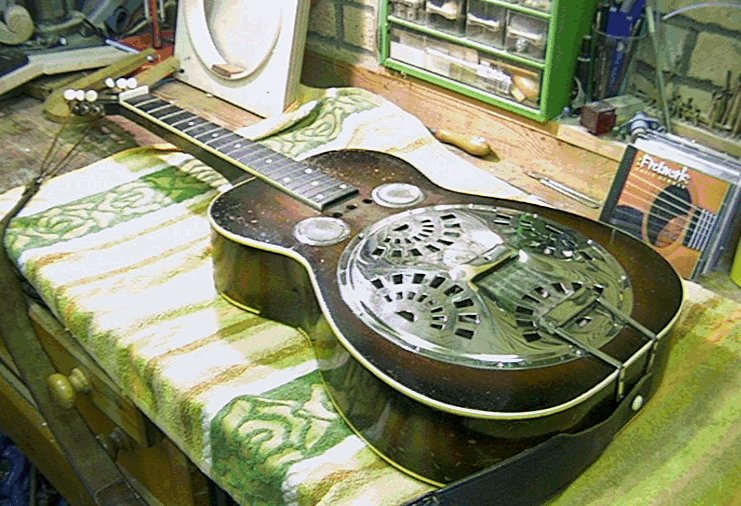
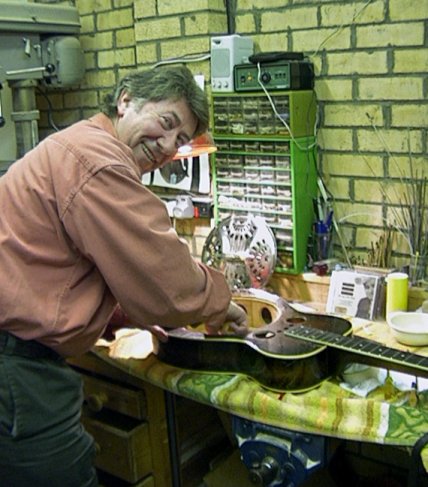
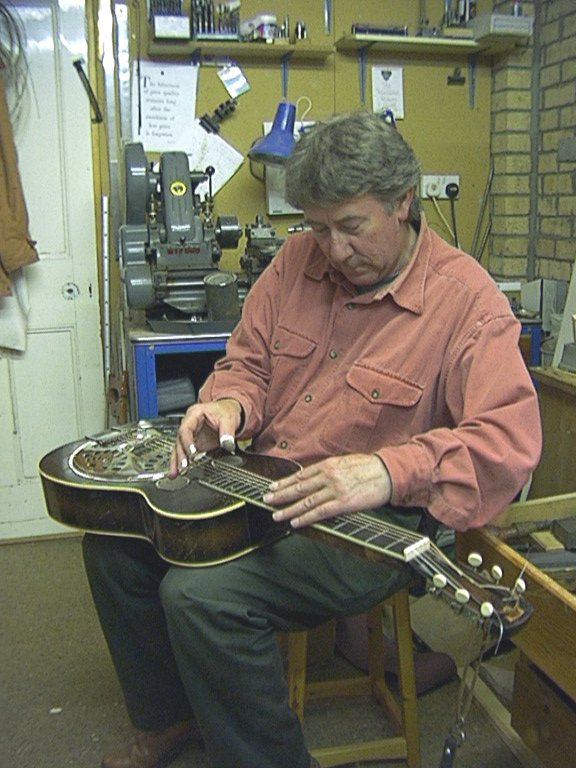
This Dobro belongs to Pete Sayers and is a good example of a 1930's instrument. The general condition is good although quite worn from playing. It has a good tone but is possibly a bit on the quiet side.
Pete asked me to get a Quartermann type cone for him and to help him to fit it to the instrument to improve it's sound.
Those nice folks at First Quality Music Supplies supplied the cone and managed to get it over to England without damage.
Because I haven't done this operation on a Dobro before I took a few pictures to record the methods used. I have also written up what I did and how I did it. I hope the this will be of help to any one wanting to do this task. Please bear in mind that I am NOT a professional repairer and don't claim that my methods are either the only nor the best. I would welcome any feed back.
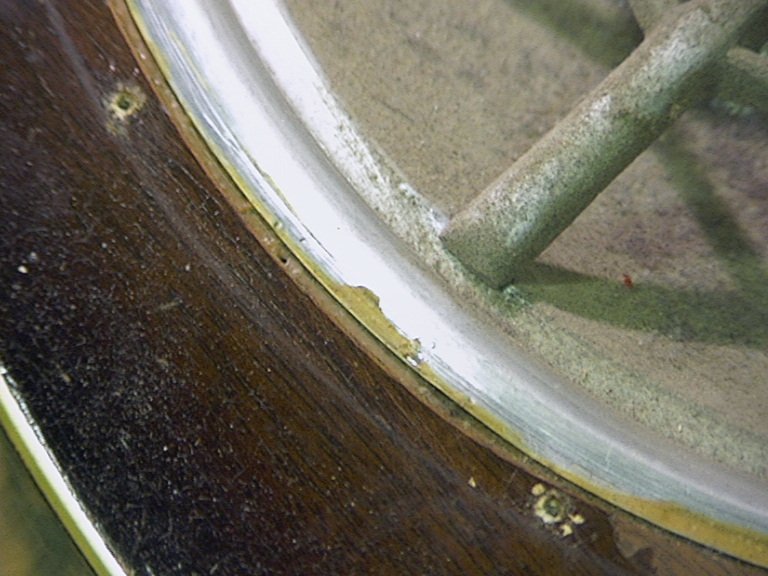
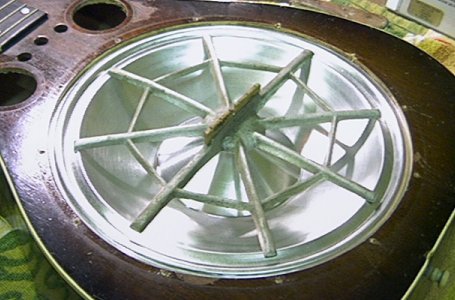
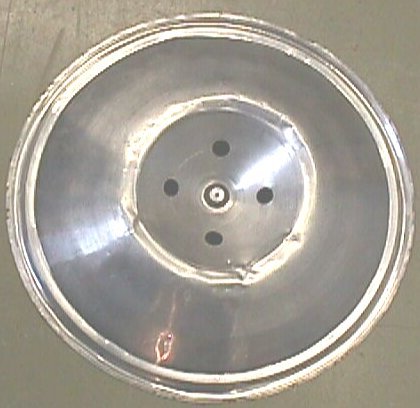
Once we opened up the instrument it was obvious that the existing cone was quite badly knocked about and fitting a new unit was very necessary. It looked as though the spider tensioning screw had been over tightened at some time and the inner cone was stating to pull up too much. Here are a couple of pictures of the original cone - front and back views. The junction of the cones was very dented and damaged. Altogether time for a new unit!!
Removing the old cone
|
|
Removing the old coneThe original cone was stuck down with a rubbery glue that was most likely Evostick or something similar. In order to remove the cone with no damage I needed to release this glue without using any force. The edge of the cone is very thin and can easily be bent or torn.
I used an old, thin kitchen knife with the top 1/8" of the tip bent over at 90°. This tip was used to push into the glue line. The cone was heated around the edge, a small section at a time, using a hot air gun (I used the one I use for shrinking the polyester covering on model aeroplanes). the temperature shouldn't be excessive and care must be taken to avoid overheating the instrument finish. I found that plowing the hot air onto the cone about 2" down from the edge allowed the heat to conduct to the glue line. The knife tip was pushed lightly into the glue line and the cone should start to separate easily once the right temperature is reached.. move the knife gently around the joint and move the hot air gun to heat the area. until the cone is fully detached from it's glued face. |
Cleaning up the inside
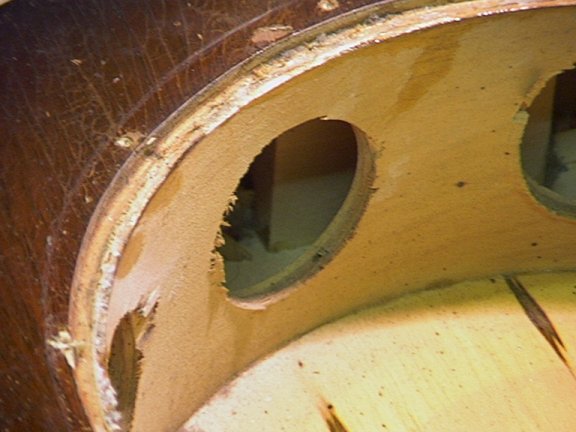
The inside of the instrument was inspected for damage and it was clear that the construction was a bit crude and would benefit from a lick with the sandpaper. The holes in the internal rim were very crude with lots of burrs and splinters left for the manufacturing process. We decided that cleaning up this mess could only improve the instrument!
Click here to see Pete doing this while I made us a cup of tea.
The Neck fitting was different from the one depicted in the Stewart Macdonald drawings. Click here for a picture of the neck mounting method |
|
|
Checking the fitting of the new coneThe cone was fitted to the spider and the center screw lightly tightened (just enough to get all of the arms of the spider in contact.
I found that the hole cut in the front was not round and there was a definite flat at the bottom (tailpiece) position. The previous cone has been roughly forced into position and was a bit bent in this area. I decided that it would be best to adjust the recess to give a good, easy fit to the new cone. This was done by putting the new cone into position and drawing around the non fitting area with a soft pencil. The excess wood was removed with a sharp knife.
Once the cone dropped into the recess easily I used a chisel to scrape off of the gluing face any remaining old glue and while I was doing this I checked the face for fitting with the cone/spider assembly. I removed any high spots until the cone was a perfect fit with no excess gaps under it.
NOTE when doing this fitting, the cone should be kept in the same orientation as it will be after the instrument has been assembled as the spider may not be absolutely flat and by adjusting the glue face to be an accurate fit to the cone/spider unit, the spider will still sit evenly on the cone when finally assembled. I recommend that you mark the face with a bit of tape to ensure that you can repeat the positioning. |
Final fitting of the coneThe glue face of the instrument is painted with a thin, even coat of Evostick. Care must be taken to avoid any lumps or thick areas. It doesn't matter if the full width of the face is coated as only the narrow area on the cone will stick to it.
The glue face of the cone is also coated with a thin film of Evostick and both are put on one side to allow the glue to dry. I left the parts for 10 minutes.
hold the cone/spider assembly just above its glue face but located into the recess and check that the orientation is correct as you won't have another chance. Once you are happy that the position and orientation is correct push the cone firmly into the glued surface. Bringing the 2 glued surfaces together will effect an immediate bond. I used a small piece of balsa wood cut to about 1/8" wide to run around the outside of the cone gluing ledge to ensure that the joint is fully in contact.
|
Reassembly and setting up the instrument
I found that when I refitted the cover it fouled the bridge. When I looked further into this I saw that the cause was that the Quartermann cone has a raised ridge where the spider fits. This seems to lift up the spider by about 3mm (1/8") compared to the original cone that came off of the instrument. The original cone hade a flat ledge where the spider fitted.
To solve this problem I lowered the wood bridge inserts be 3mm. This doesn't change the action of the instrument as it just restores the string height to what it was before fitting the new cone.
|
The results of our endevours
The instrument is much louder and the depth of the tone seems to have improved. I has a much warmer sound but still has that characteristic Josh Graves, proper bluegrass sound.
Click here to see Pete checking it out for the first time. (playing pickaway).
|