|
|
|
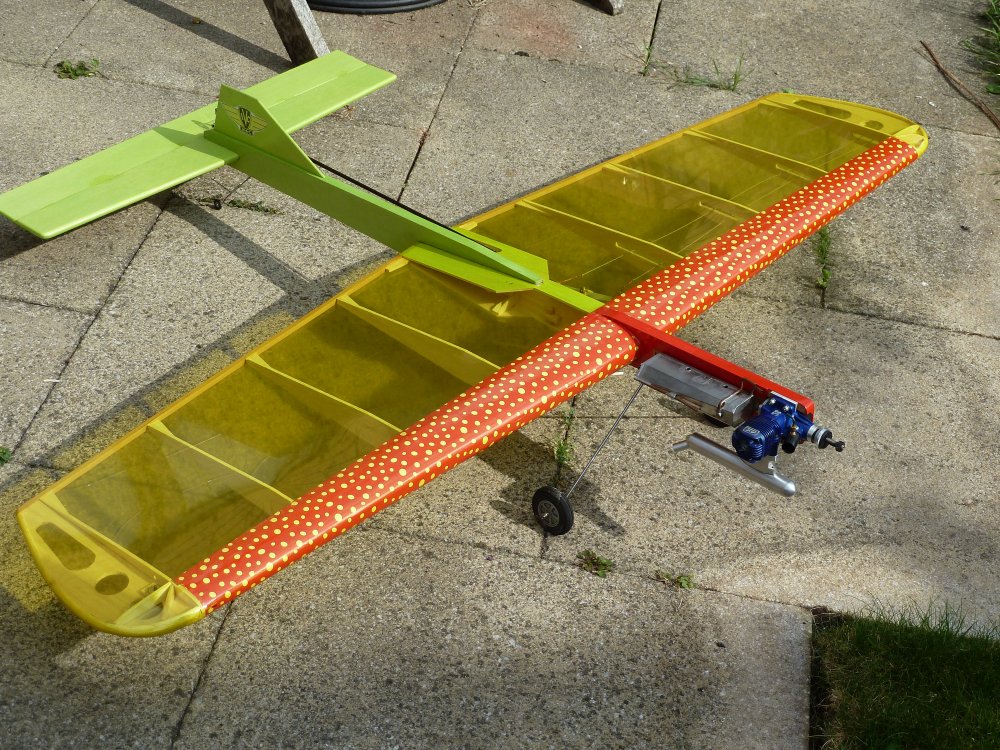
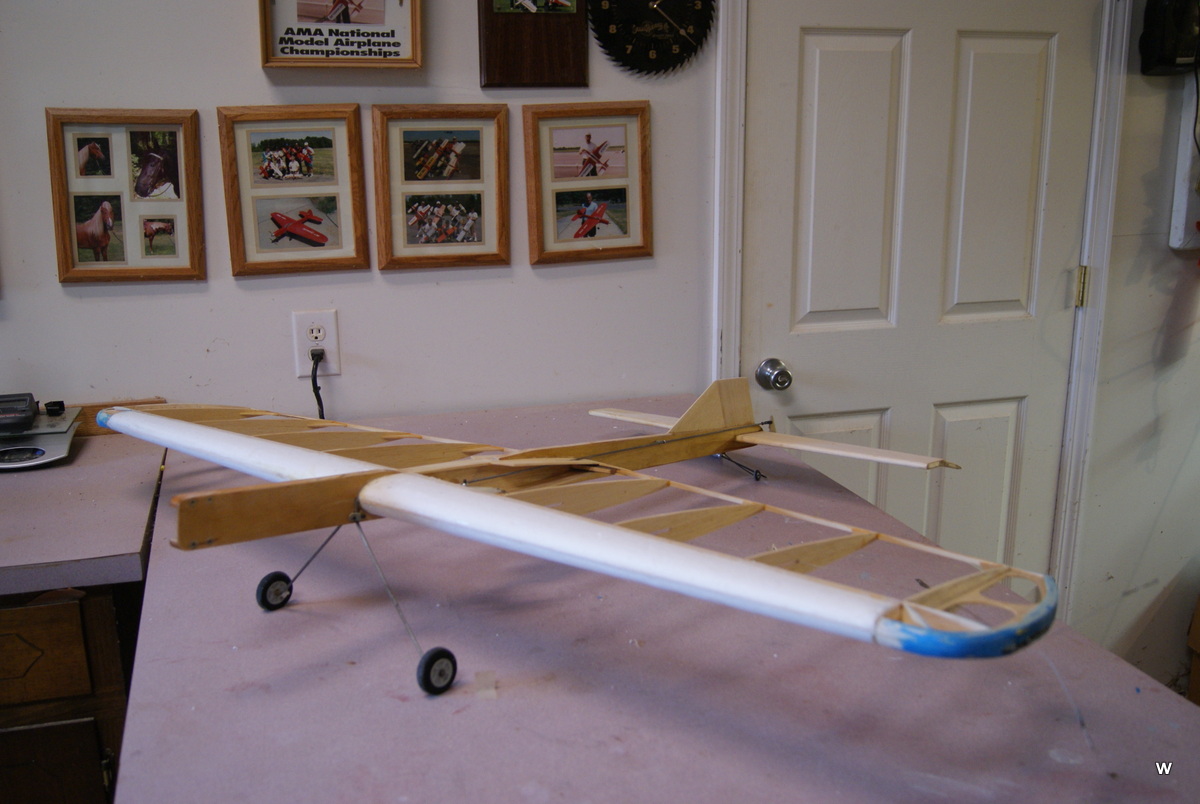
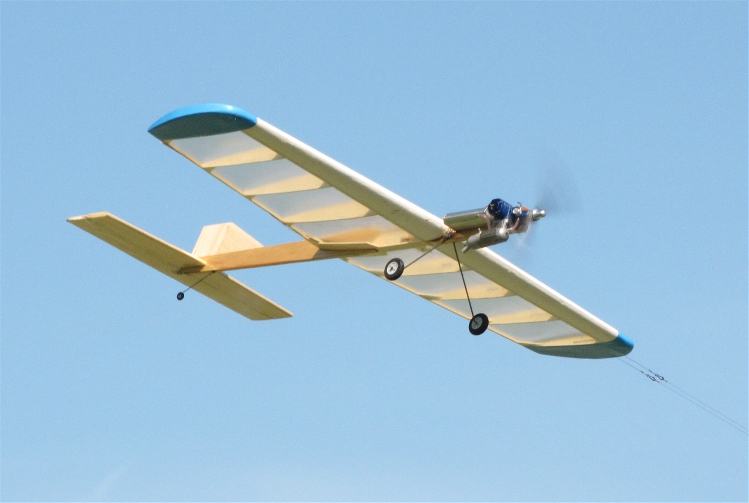
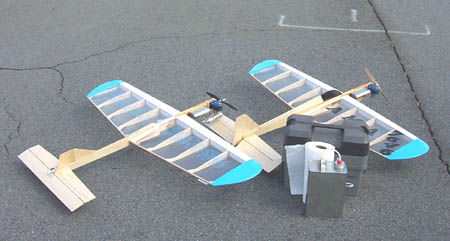
In 2014 I finished a TEOSAWKI (The End Of Stunt As We Know It)
This is an interesting design by Clayton Smith who died in 2010 and it was only available as a ready to fly model from Clayton in the USA. I am not aware of any that made their way over to the UK. Everybody I have heard from who has flown one claims an excellent performance from it.
Update: I have had a few flights with this model now and it is a really good flyer. The CG came out spot on the centre of the spar and the dry weight was exactly 32oz.
It flew well and will be better when I have got it better trimmed. I feel as though I am holding some down on when I am flying and the speed is a bit quick (4.5sec/lap) and a bit short of range 4.5 mins on the tank that prefiously gave me 6.5 mins when I had the same engine combination in my Mo-Best. I made a new venturie and started off with a 7.4mm hole with a 4mm spraybar and this is too big I think. Next time out I will use a 7mm venturie and I will probably reduce the nitro from 8% to 5%.
It turns well in both directions and has a sufficiently sharp corner for the squares.I still have some tweaking to do to the engine run but it would probably be competative (in more practiced hands).
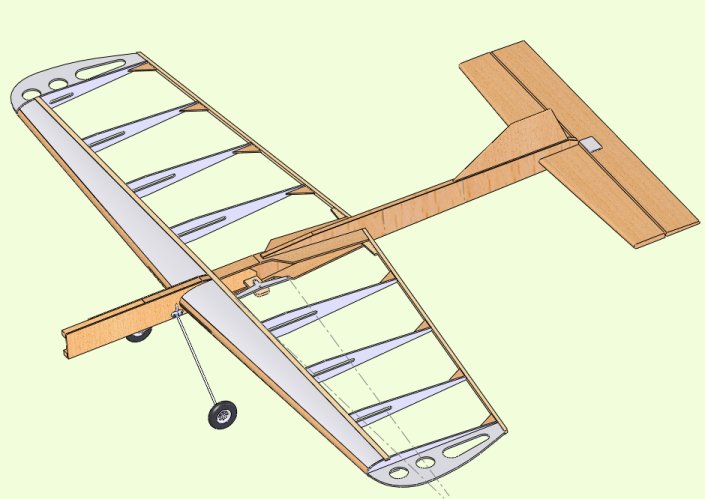
I have created this page for the drawings and build pictures to help others build their own versions.
|
 |
 |
 |
 |
 |
 |
 |
 |
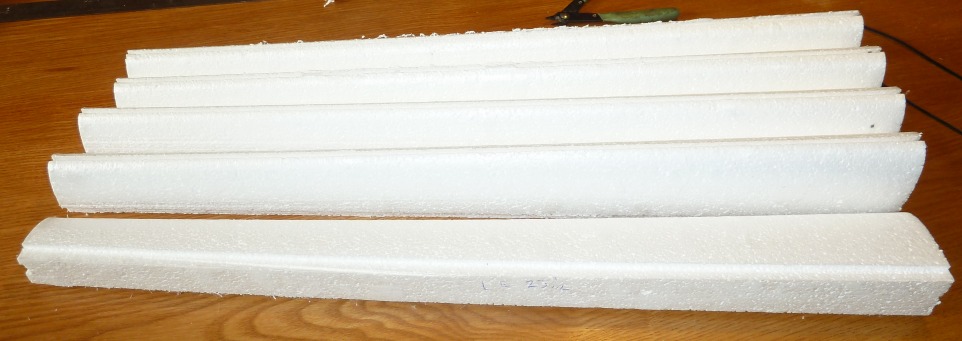
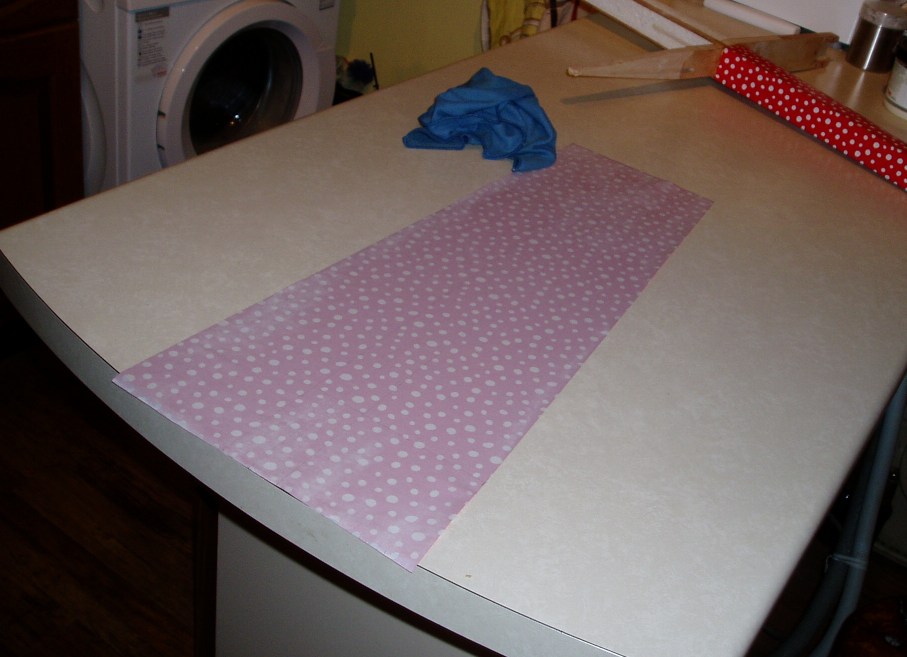
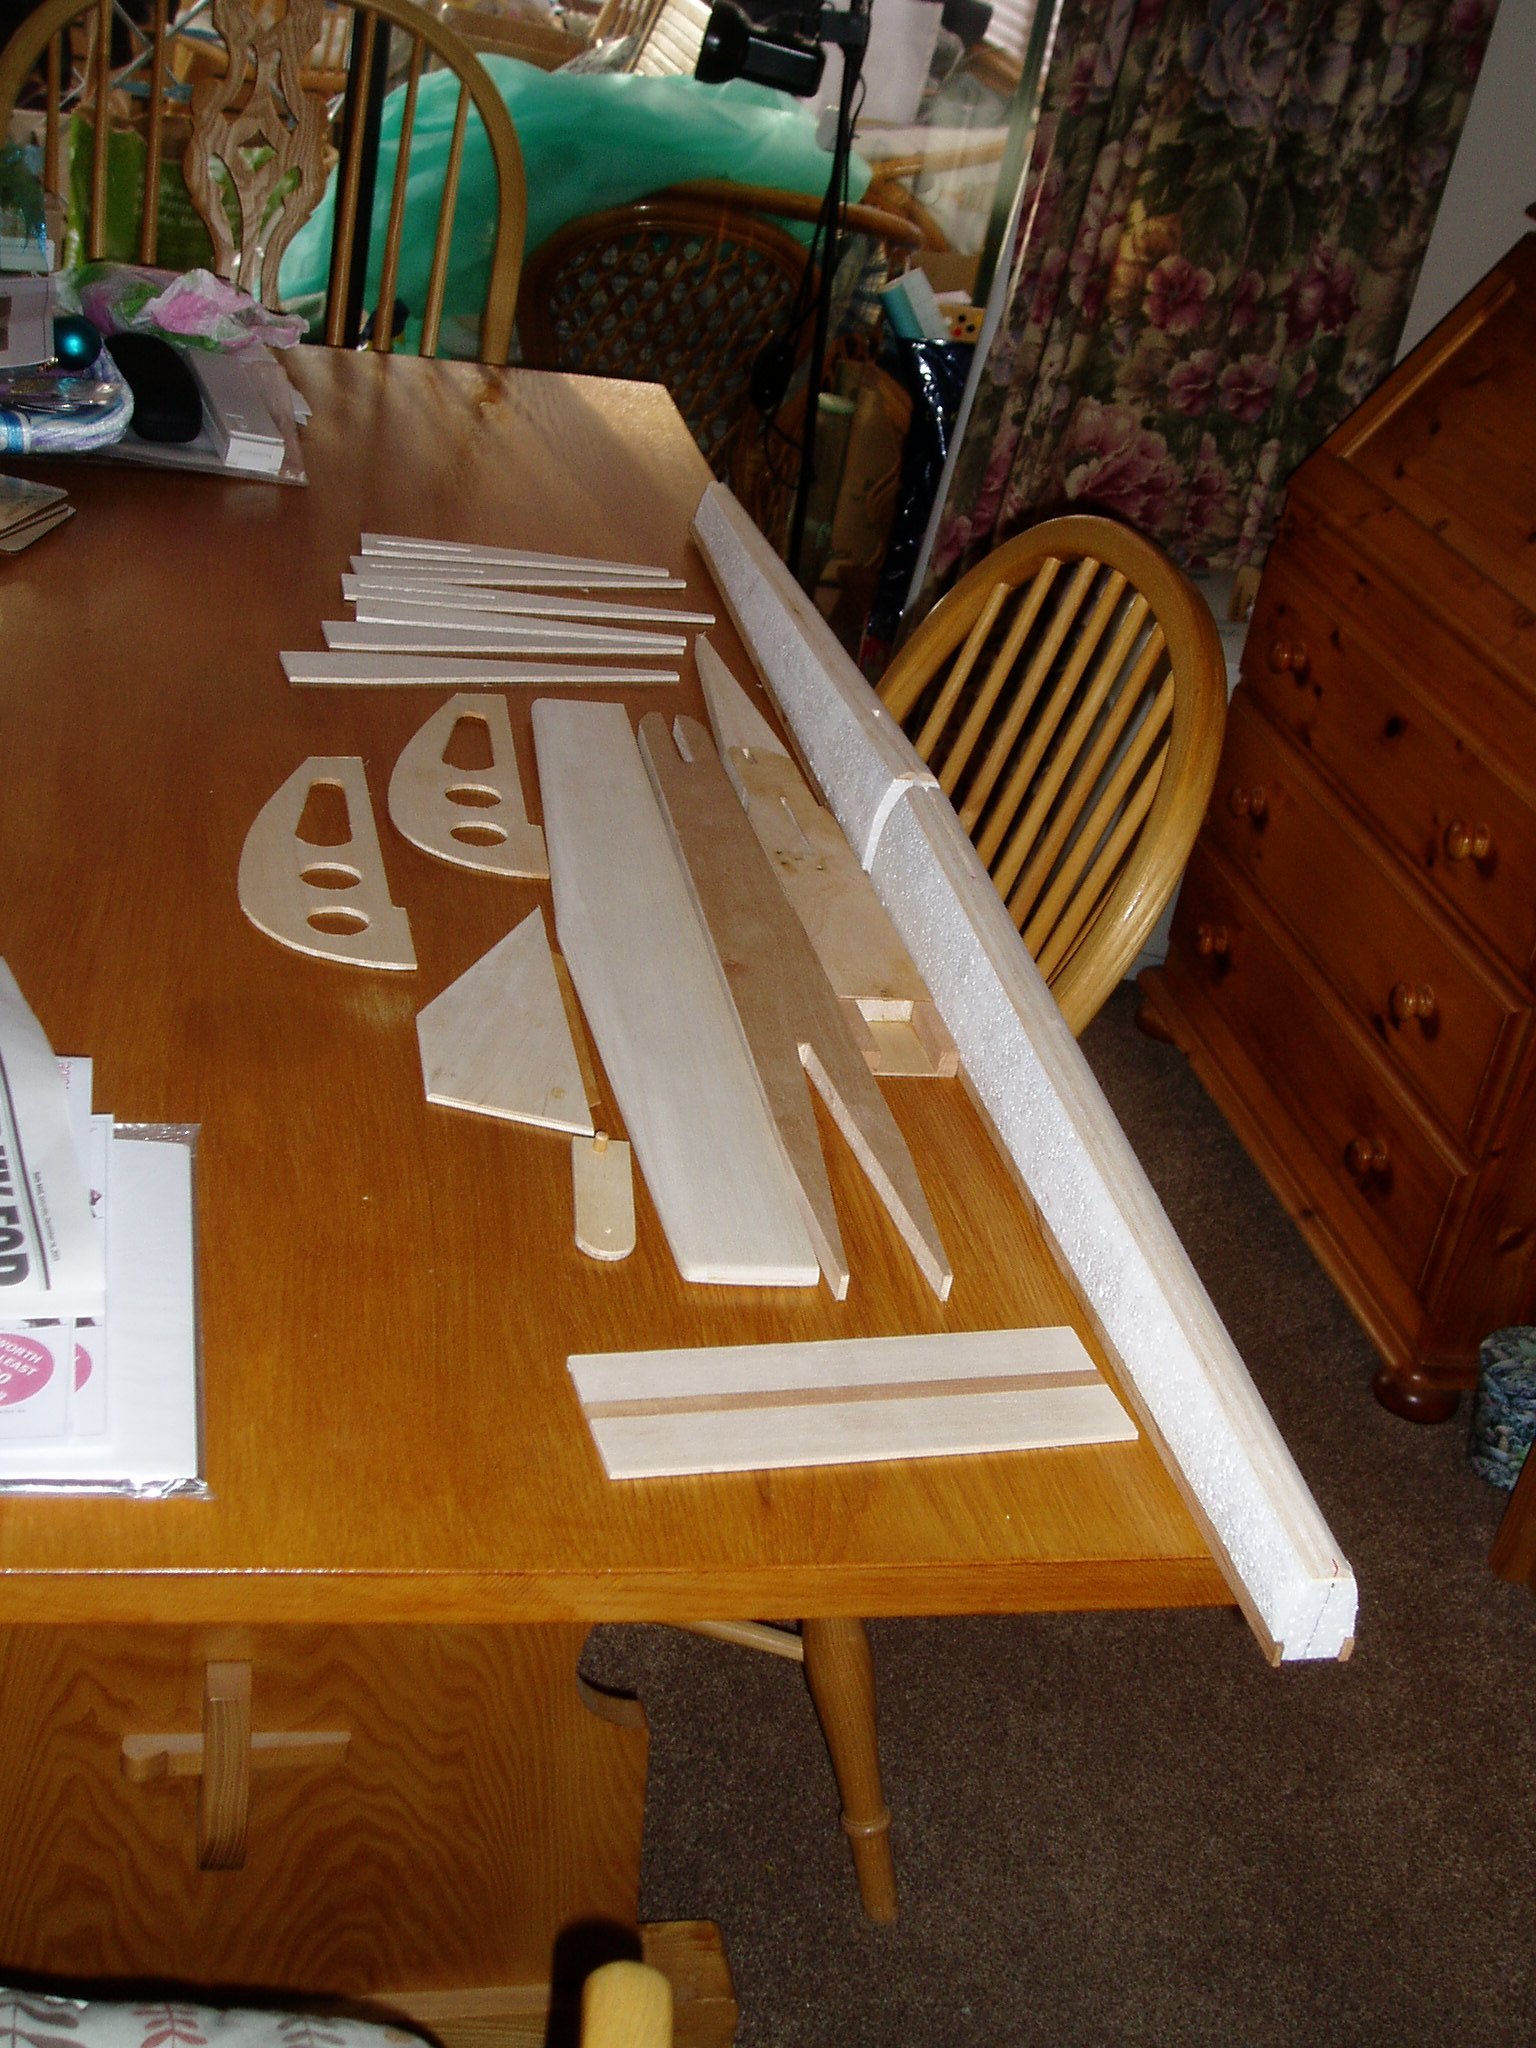
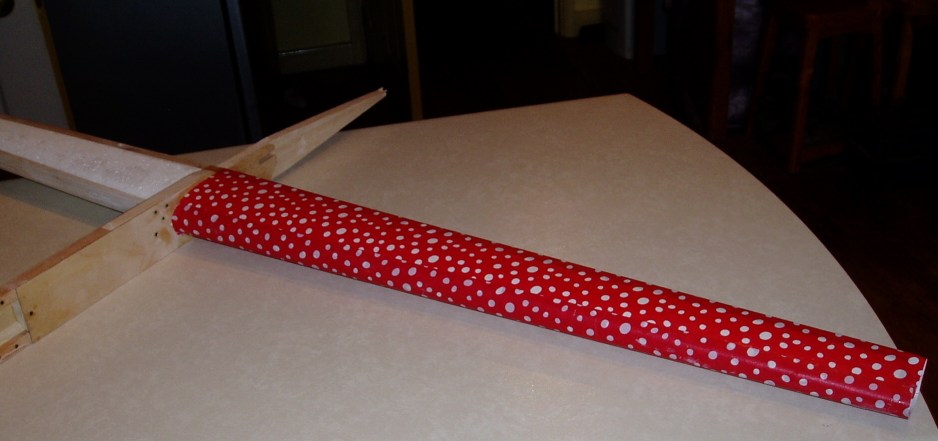
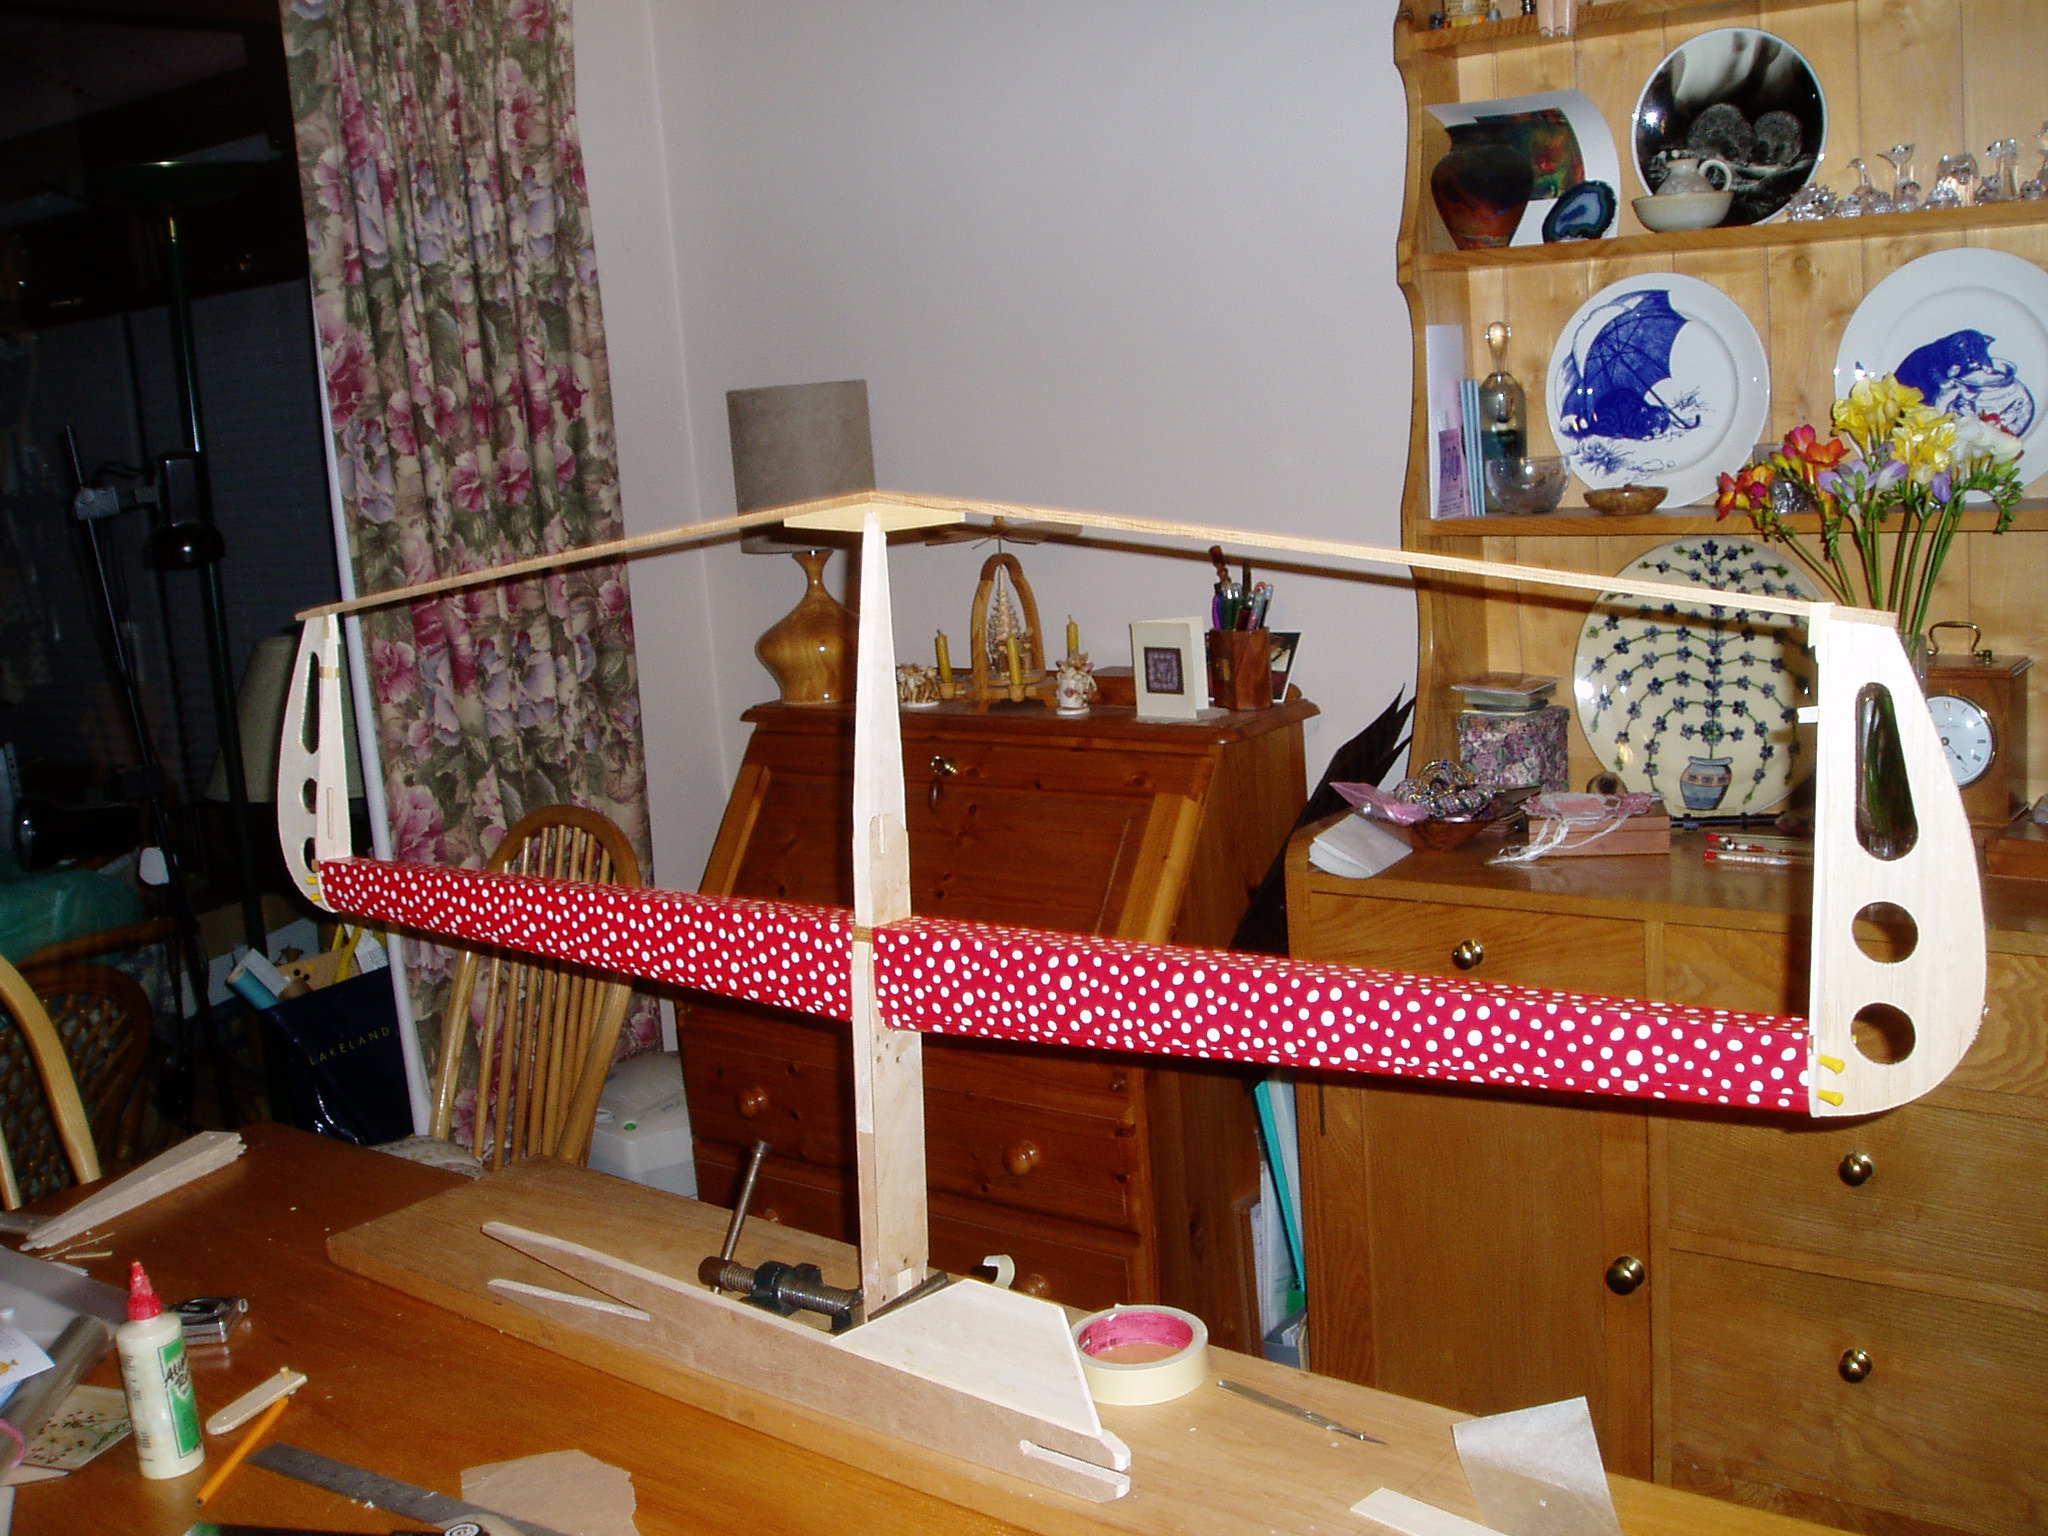
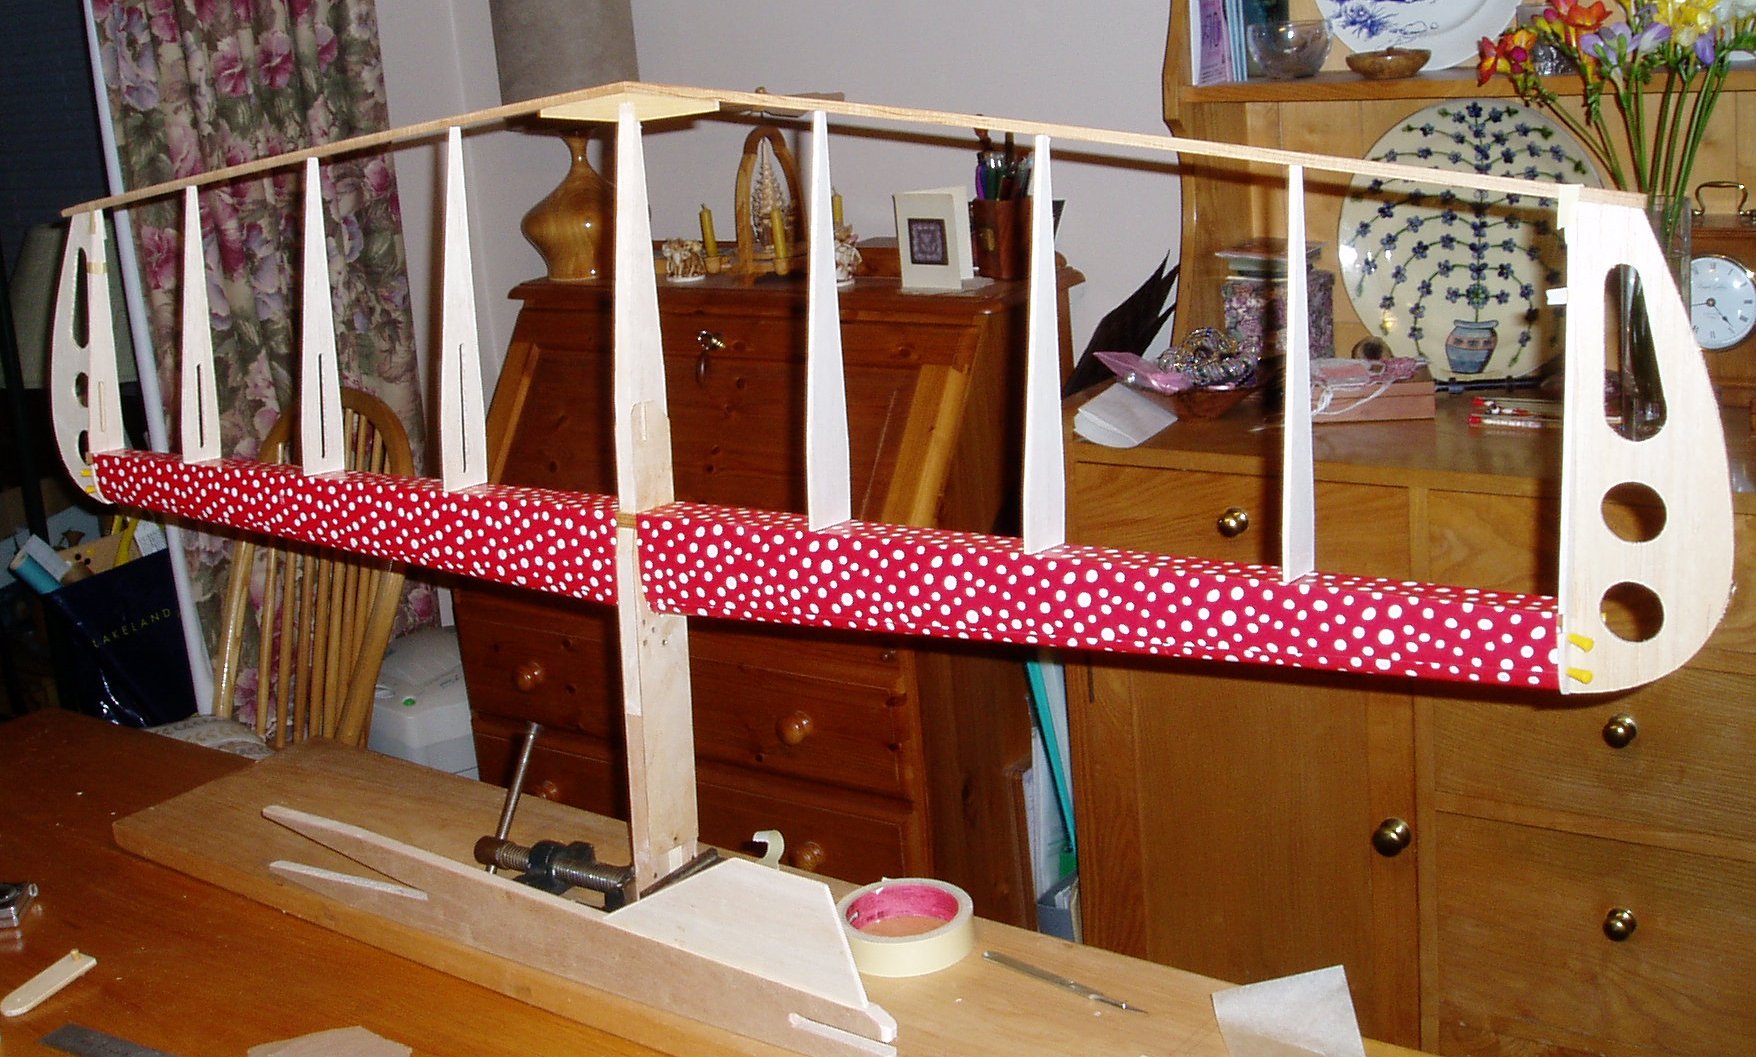
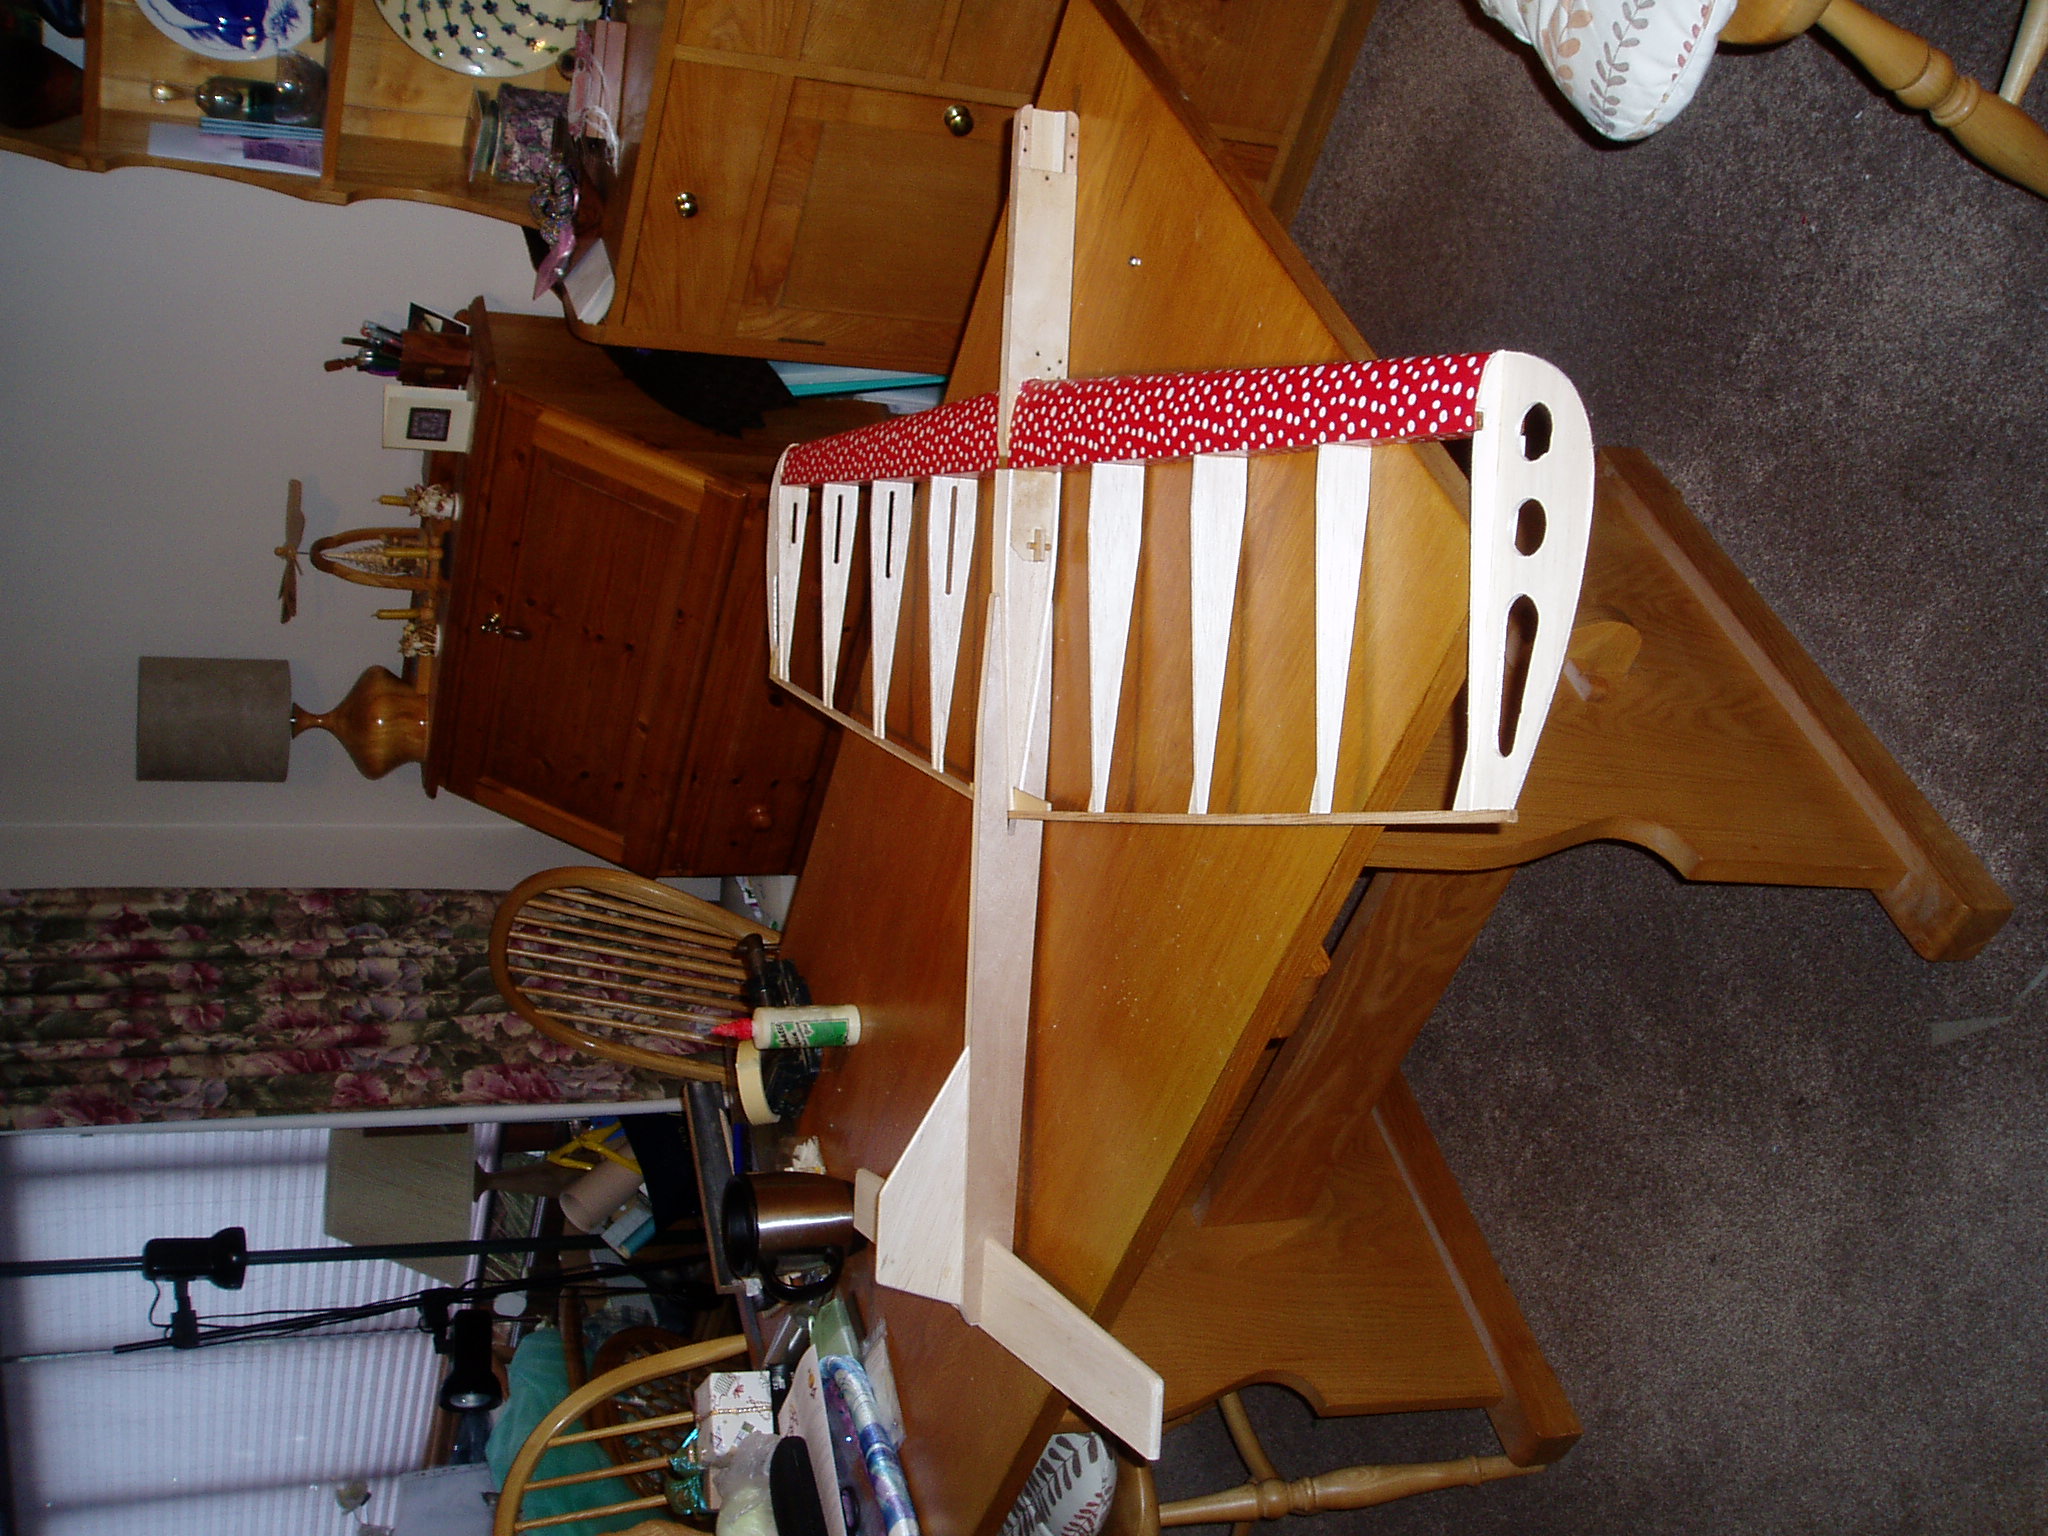
| Covering the leading edge - the covering is laid face down on a flat surface and the back evenly coated with a 50/50 thinned white glue. | parts ready for assembly | Leading edge covered in light Christmas wrapping paper | Built up stabiliser |
 |
 |
 |
 |
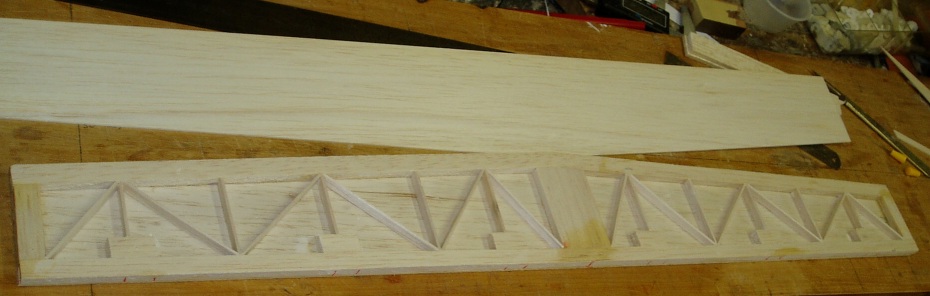
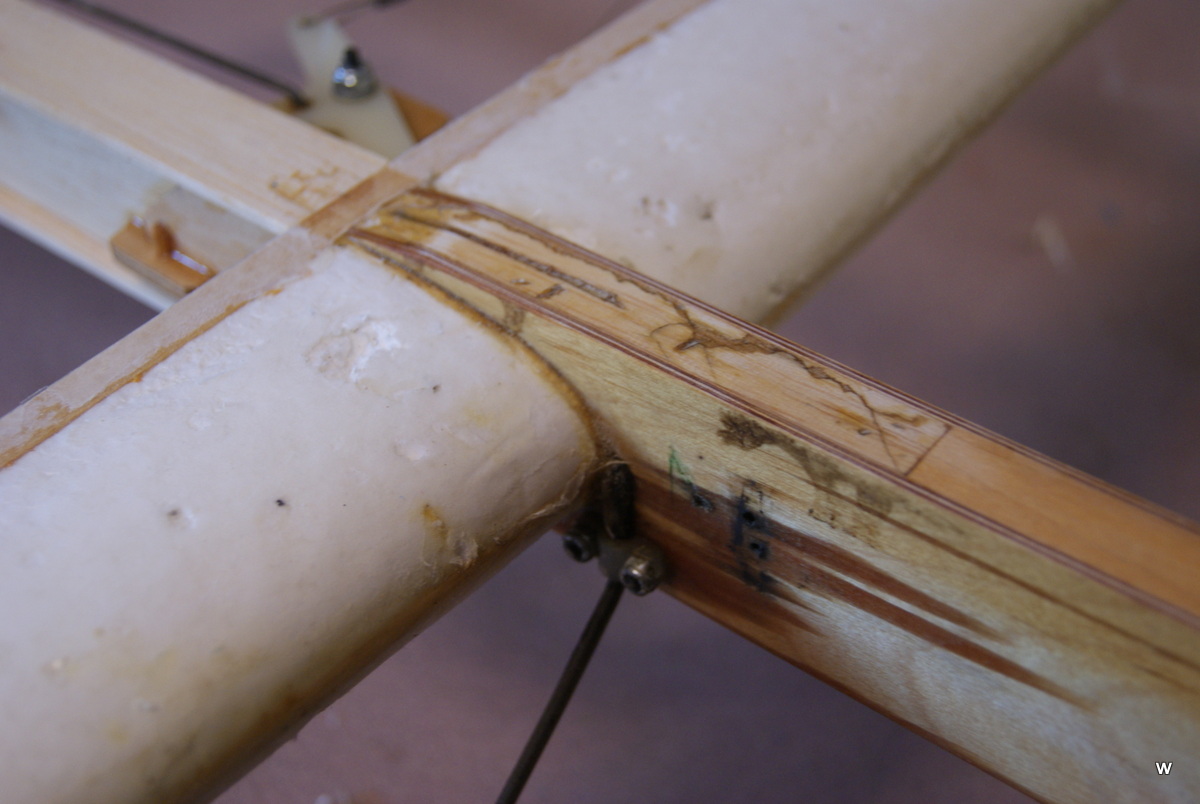
| fitting the trailing edge - I use an accurate angle measuring tool to ensure that the tip ribs are correctly aligned. | Leading edge assembly - joined but not sanded | |
|
 |
 |
 |
 |
 |
 |
 |
 |
 |
 |
 |
 |
 |
 |
 |
 |
 |
 |
© 1997 to 2016 Mike Nelson