Be sure to make the slot deep enough and remember that the hinge barrel will be let into the chamfer (see below)
|
|
| This will be the position of the slot | |
|
|
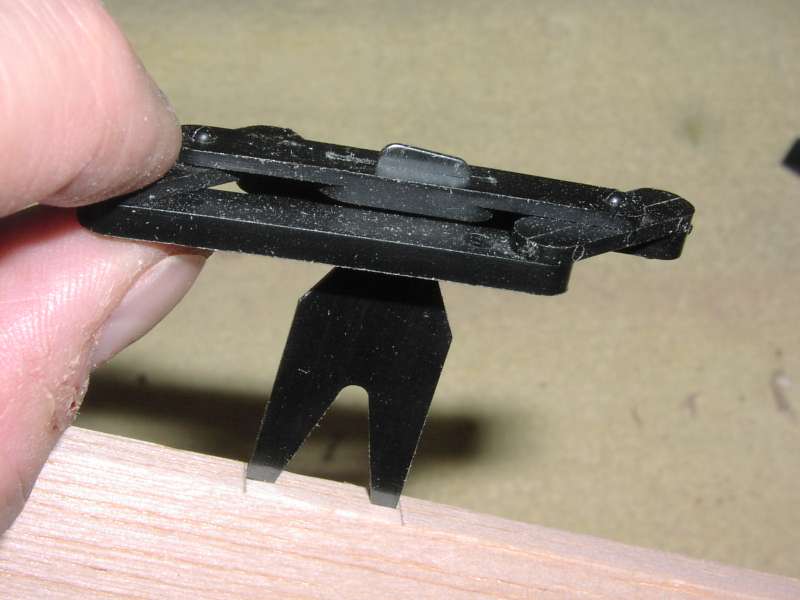
| The slot positioning jig on the flap in the correct position - you should be able to see the pencil marks and check that the jig is in the right place and ready for the cutter | |
|
|
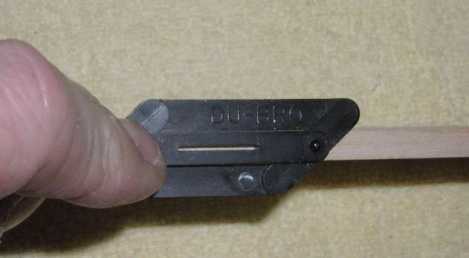
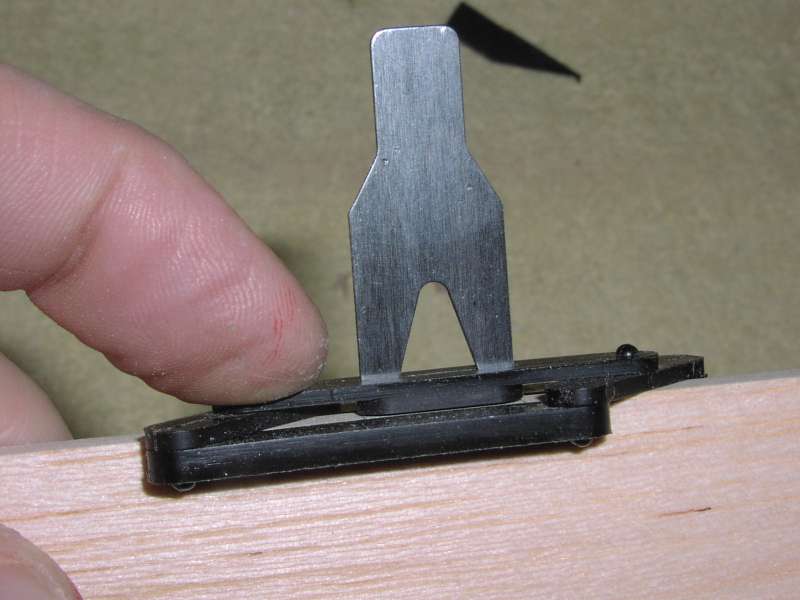
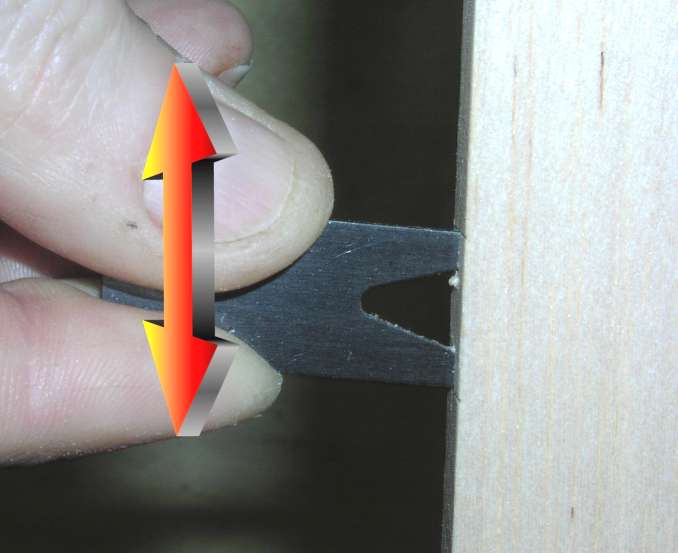
| The cutter is pushed through the slot in the jig until well entered (say 1/8" or 3mm) | It is important that the cutter is entered straight into the edge and not pulled over to one side or the other. |
|
|
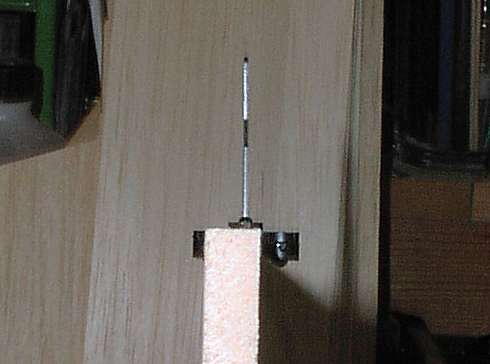
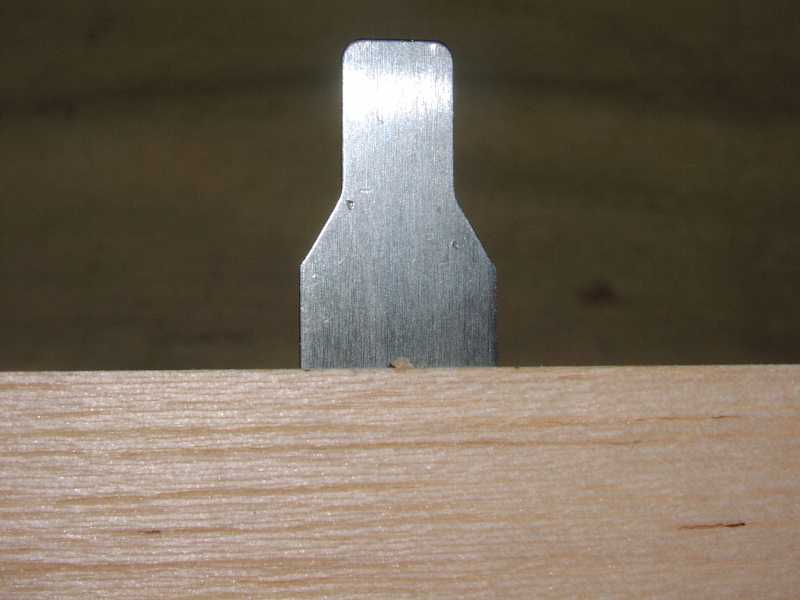
| Once the cutter is set into the edge of the flap, the jig can be removed. | The cutter should now be in the correct position but not yet deep enough. |
|
|
| The cutter can now be pushed deeper in to the flap by rocking it gently from side to side as it goes deeper | For the size of hinge that I use the cutter should be deep enough that the centre cut out is right up to the flap edge. |
|
|
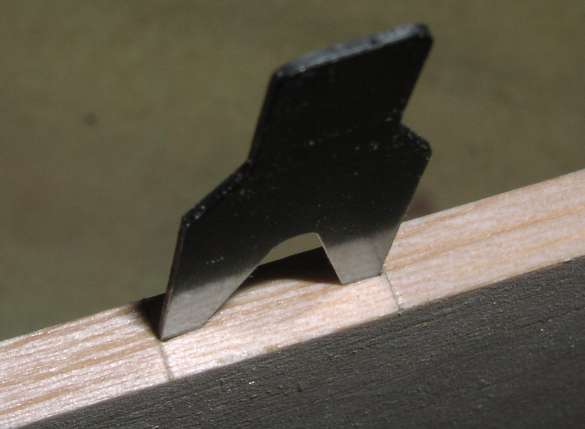
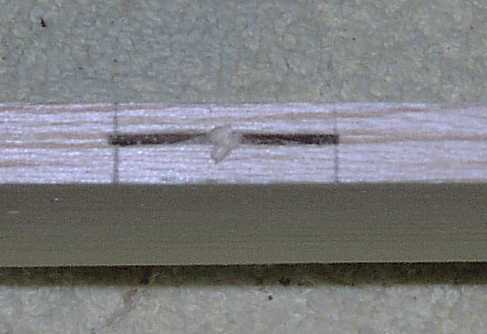
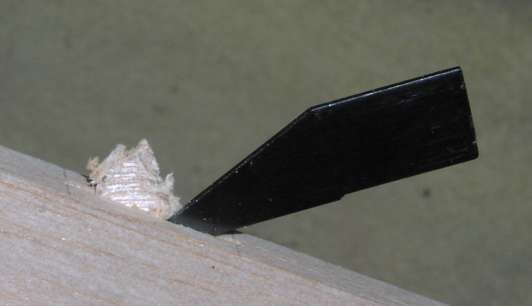
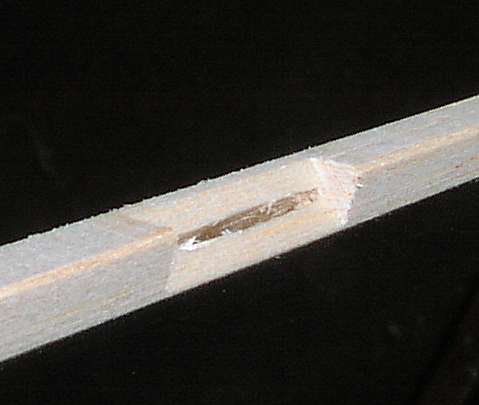
| The cutter is now removed leaving the slot as shown | I use a sharp scalpel blade to join up the two slots. This will make the next operation to remove the middle part of the slot easier. |
|
|
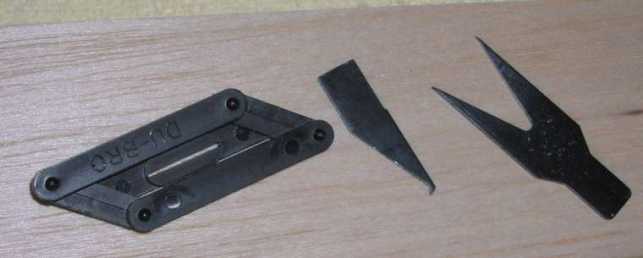
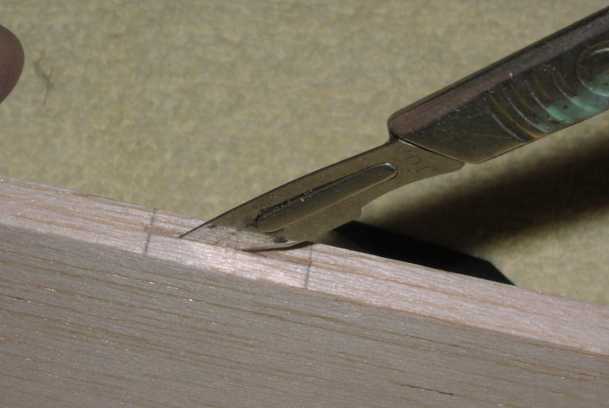
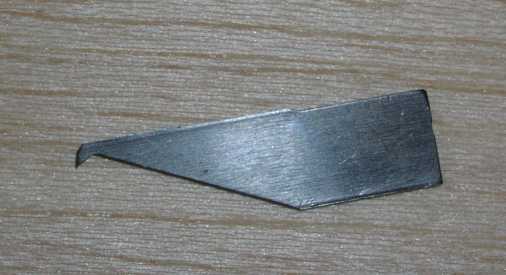
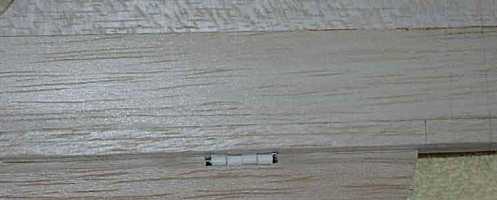
| This is the tool for removing the uncut centre portion of hte slot. | This tool is used to open up the middle of the slot until the hinge fits fully in. Be sure to make the slot deep enough and remember that the hinge barrel will be let into the chamfer (see below) |
 |
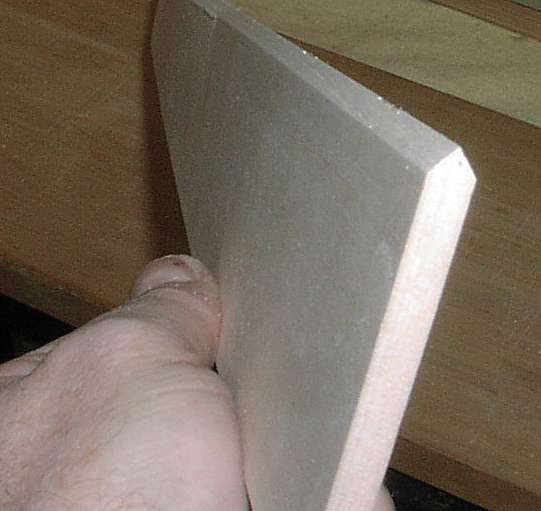 |
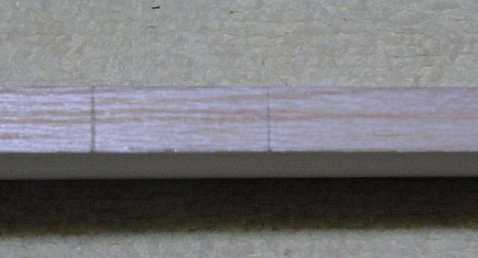
| A 45 degree chamfer is sanded along the hinge edge. Care should be taken to get it central and even | I usually go a little over 45degrees to make sure that there is no problem with the movement needed by a stunt model. |
 |
 |
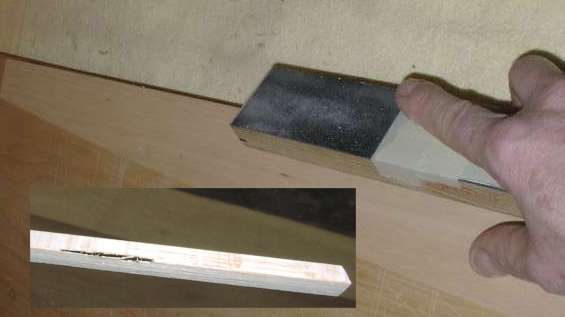
| The chamfered edge must now be knotched to allow space forthe barrel of the hinge so that the flap will fit closely to the trailing edge | I use a home made sanding tool made from offcuts of 1/16" ply. The sandpaper is 240 grade and fitted to the ply with double sided tape. |
 |
 |
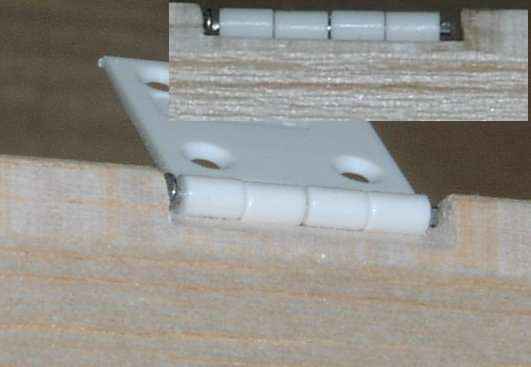
| Correctly done the hinge will fit snugly into the slot and the knotch as shown | When fitted to the wing the leading edge of the flap should almost touch the trailing edge of the wing. |